Add a testimonial
Before you start
Section titled “Before you start”Read about testimonials for what this is, how it connects to the rest of KLERQ, and the conventions worth following.
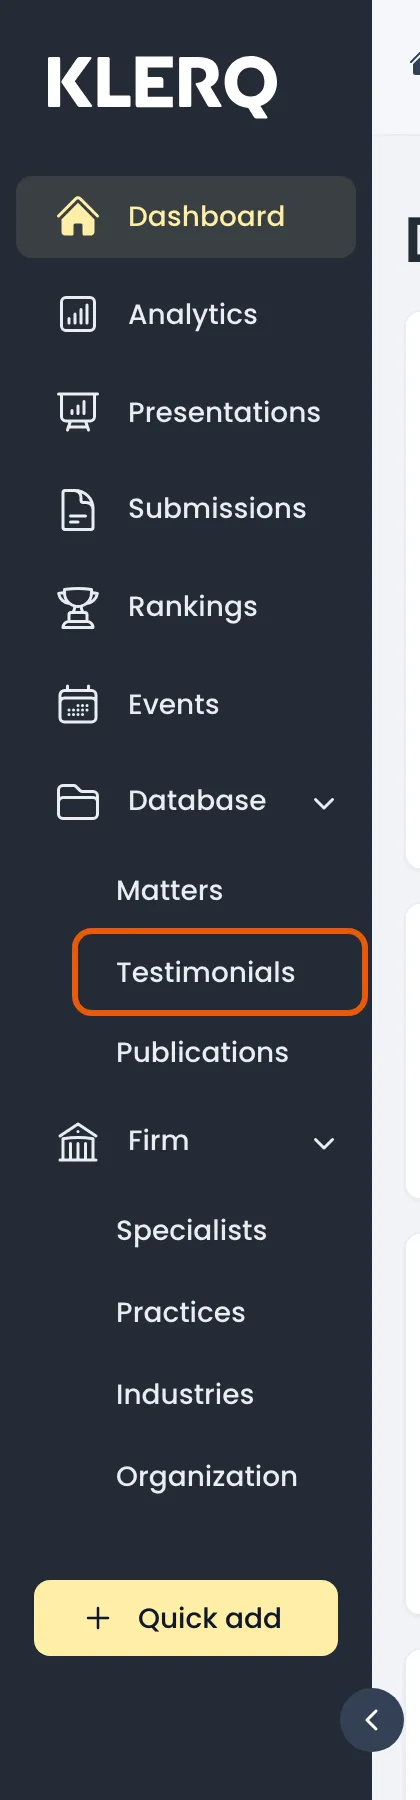
- In the left menu bar, click testimonials under the Database heading.
- Click new testimonial in the top-right corner of the testimonials page.

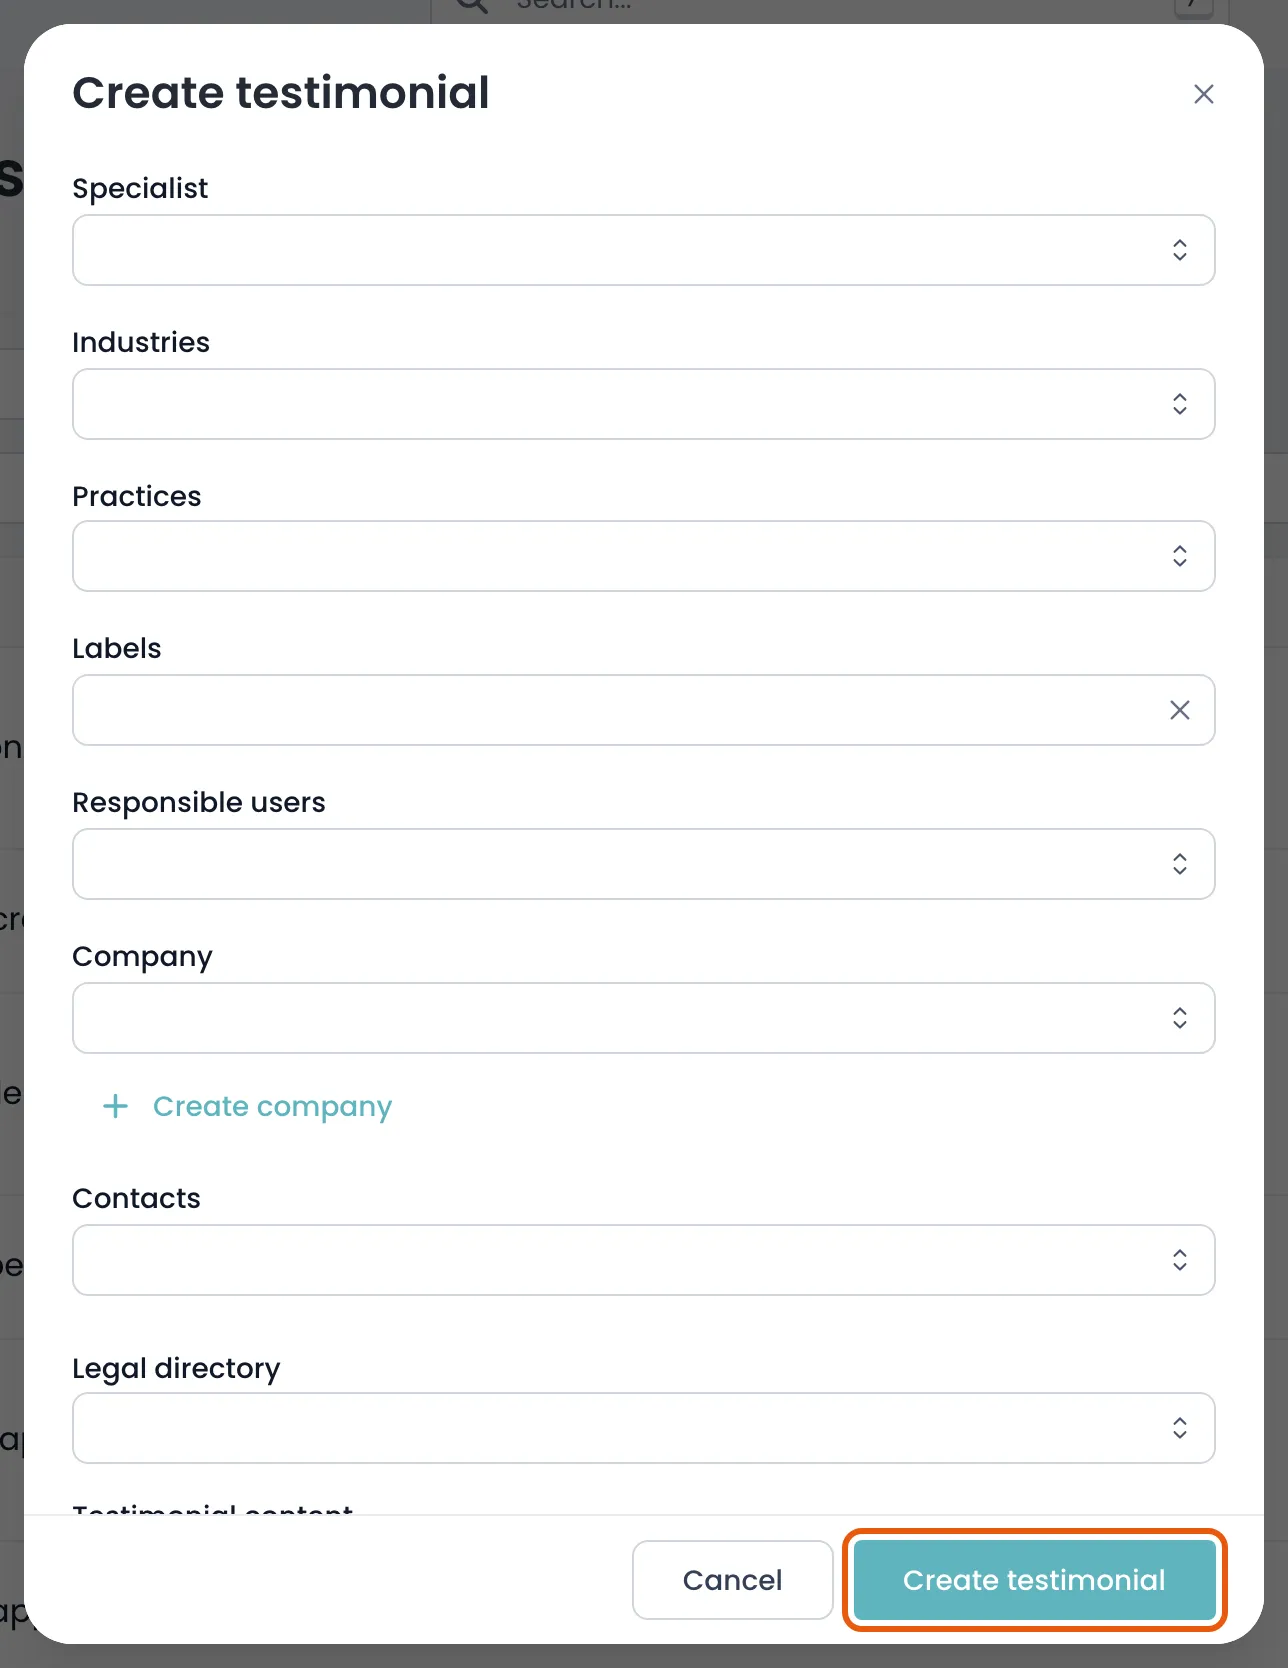
- Choose the Specialist the testimonial is about and the Company it came from, then paste the quote into Content.
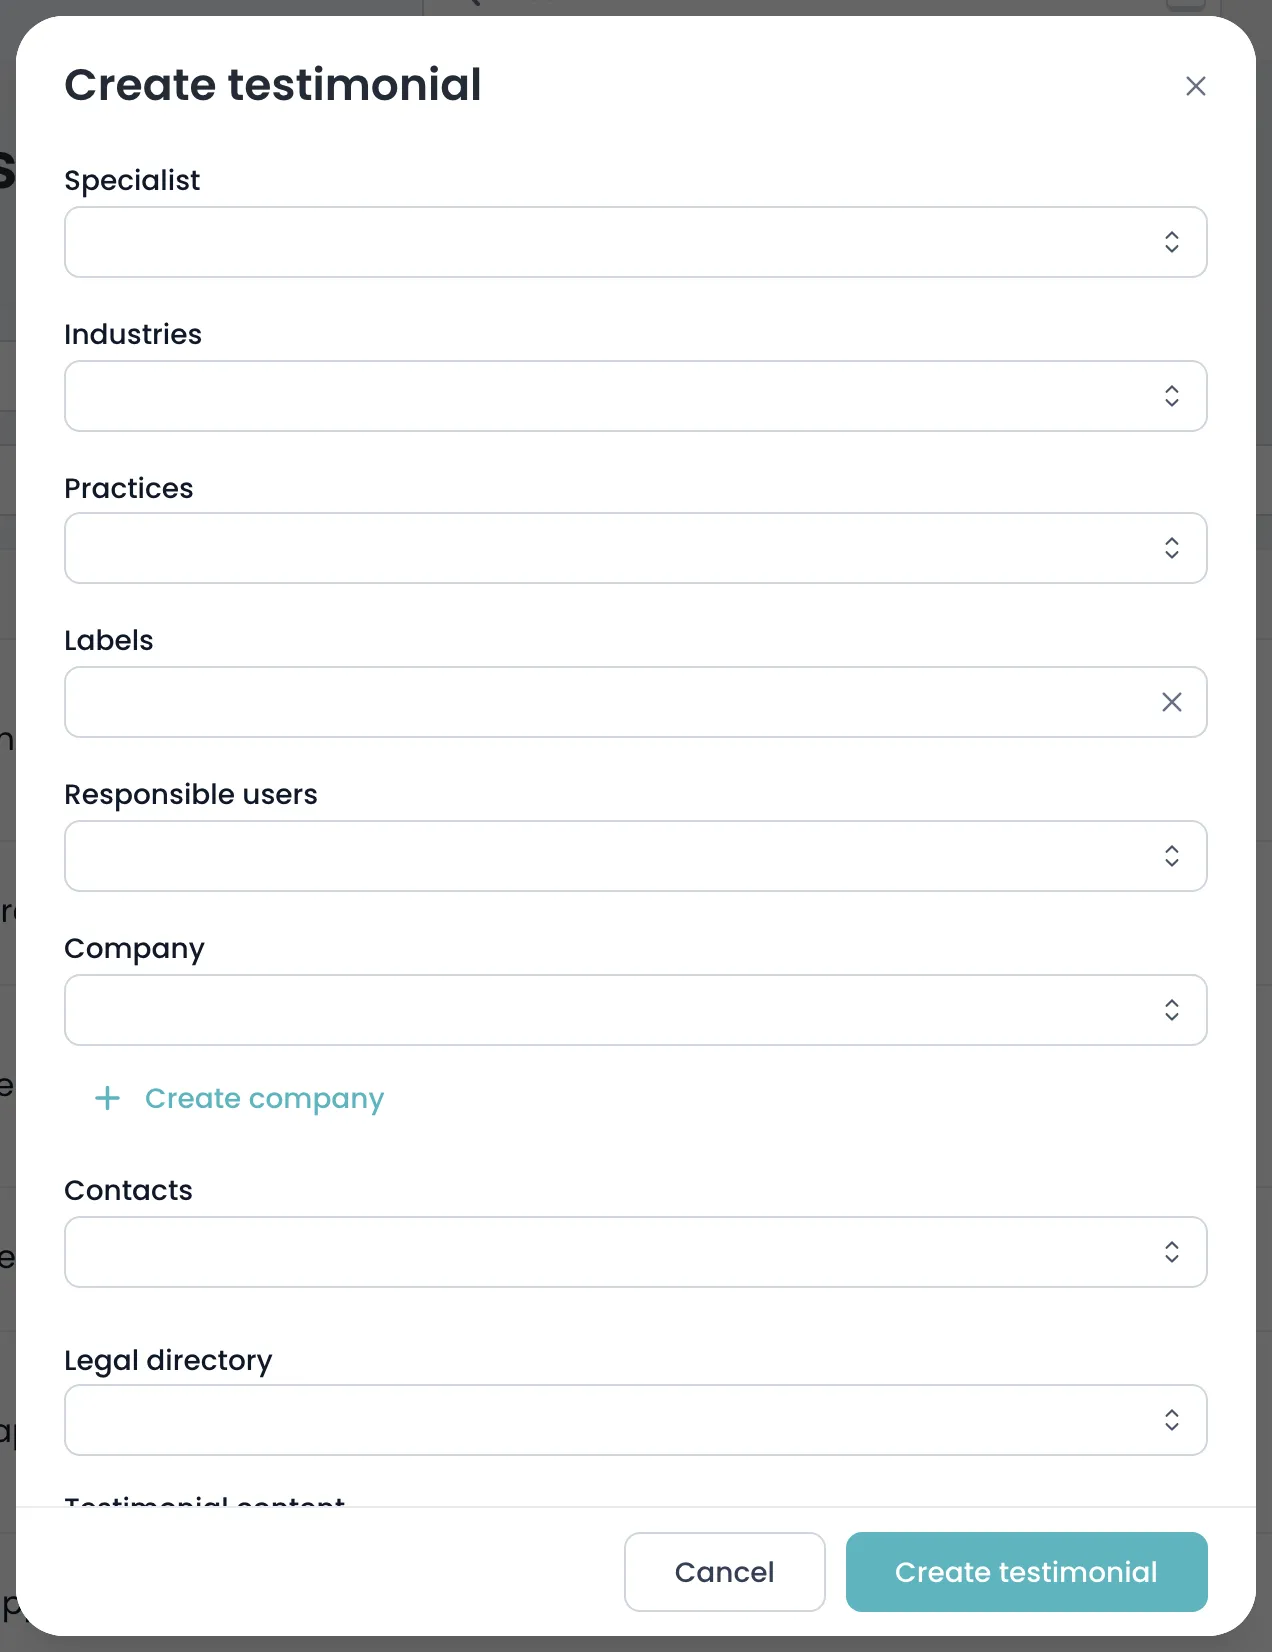
- Click create testimonial to save.
Field reference
Section titled “Field reference”| Field | Type | Required | Description |
|---|---|---|---|
| Testimonial content | List | Yes | The quote itself, per language. This is what appears on presentations and submissions — paste it verbatim. |
| Specialists | List | No | The colleagues the testimonial is about. Most quotes name one or two people. |
| Clients | List | No | The company the testimonial came from. |
| Contacts | List | No | The individual who said it. Directories often want to verify with them. |
| Year | Number | No | The year it was given. Directories discount older quotes heavily, so an accurate year matters. |
| Directory | Text | No | The directory it was collected through, if it came from a submission cycle rather than directly. |
| Practices | List | No | Practice areas the quote speaks to, so it surfaces for the right submissions. |
| Industries | List | No | Sectors the quote speaks to. |
| Responsible users | List | No | Colleagues who own this testimonial and can confirm its provenance. |
| Labels | List | No | Your firm’s own tags for filtering. |
| Notes | Text | No | Context worth keeping — whether the client approved public use, or asked to stay anonymous. |