Add a label
Before you start
Section titled “Before you start”Read about labels for what this is, how it connects to the rest of KLERQ, and the conventions worth following.
- Click the gear icon in the top bar to open Settings.

- On the Settings page, choose Labels.
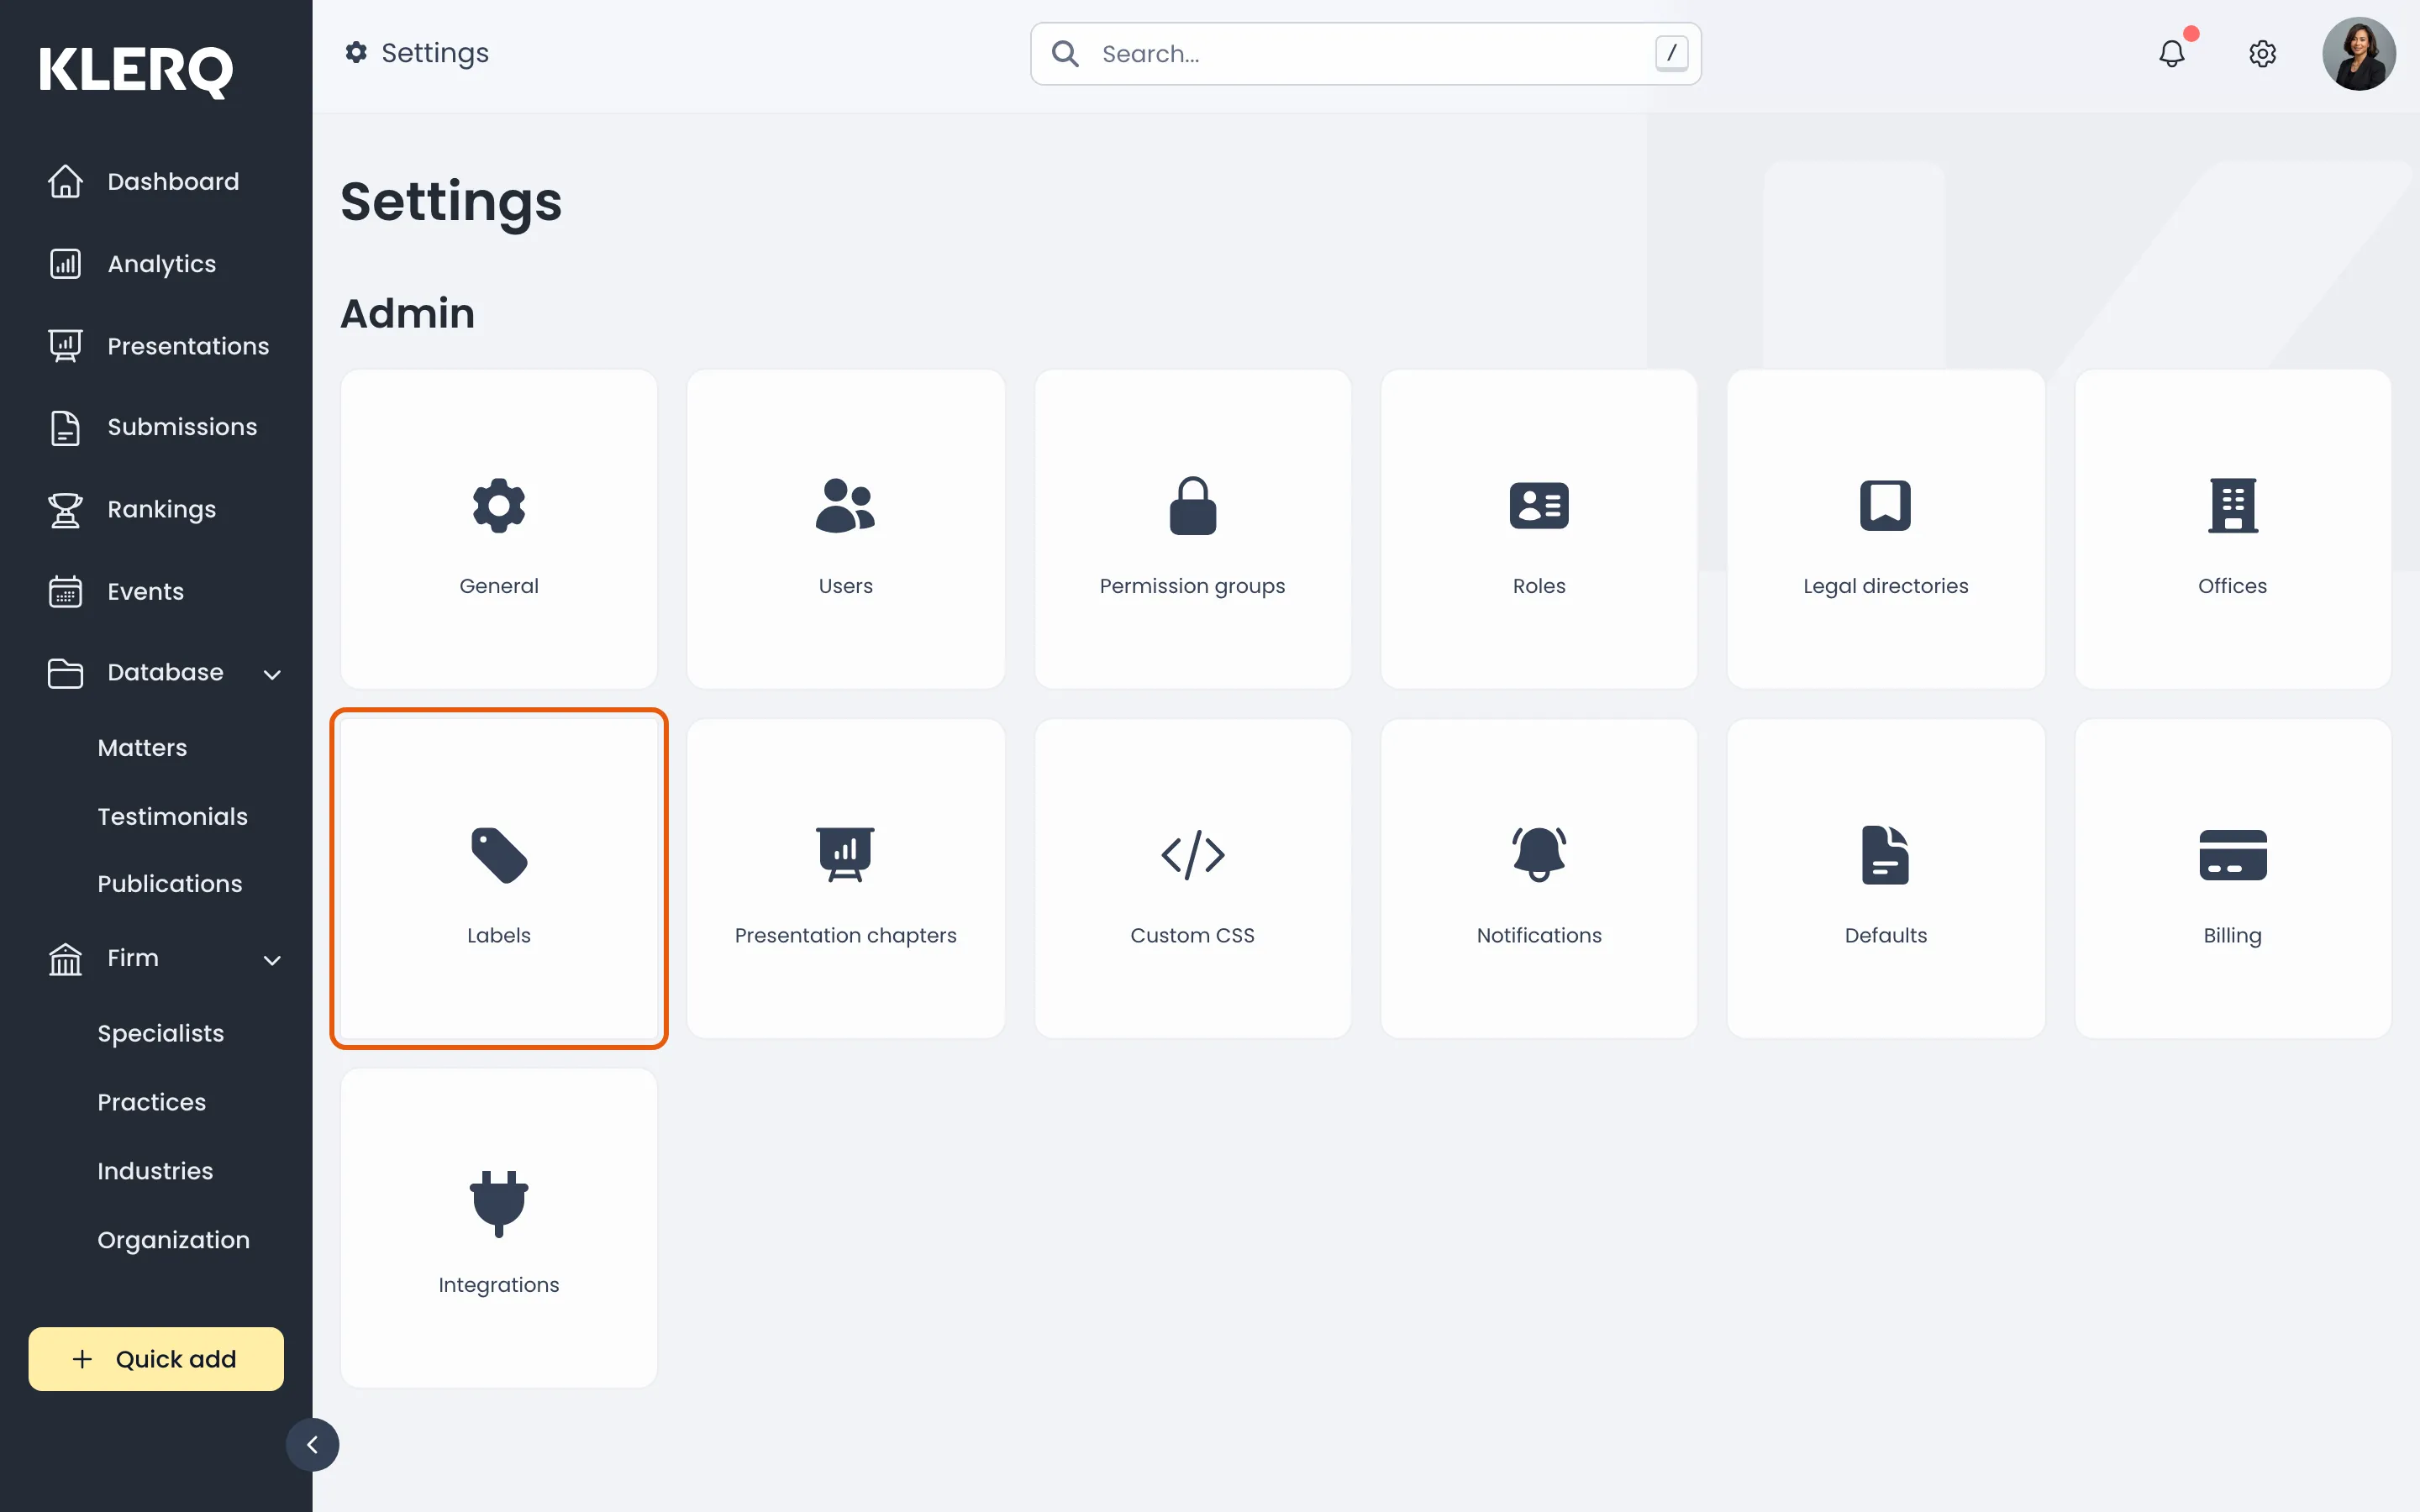
- Click Create label in the top-right corner of the Labels page.

- Enter the label Name, pick the Entity type it applies to, and choose a Colour. All three are required.
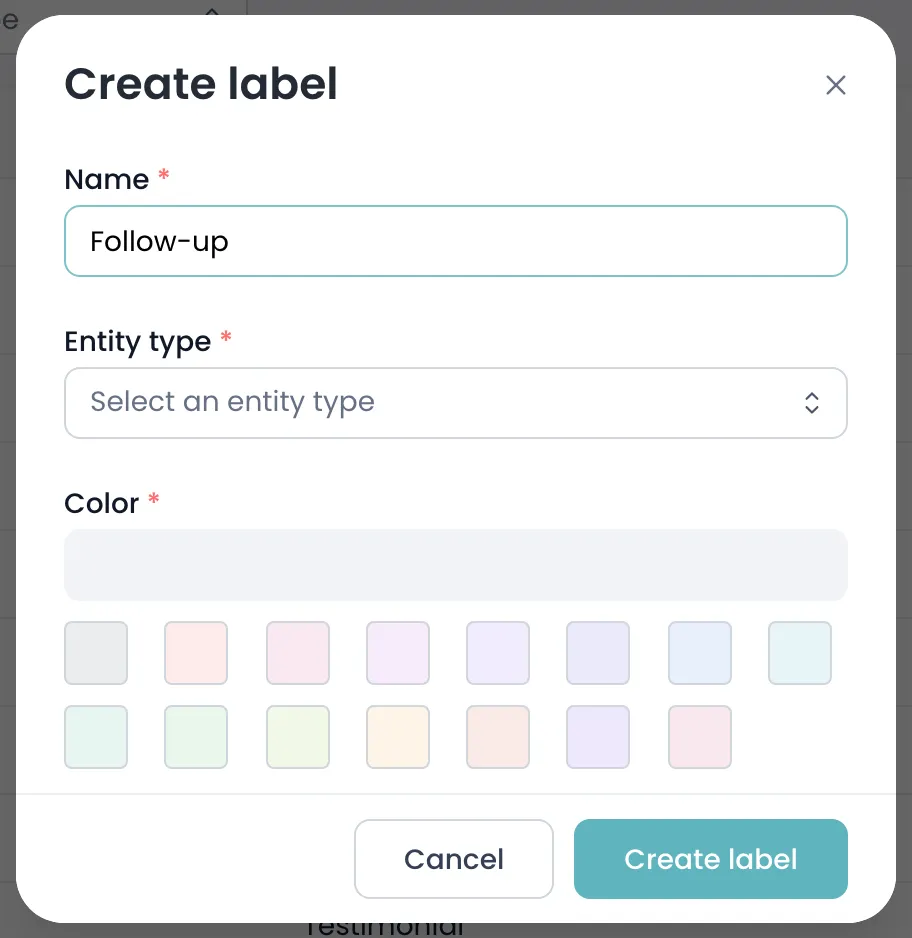
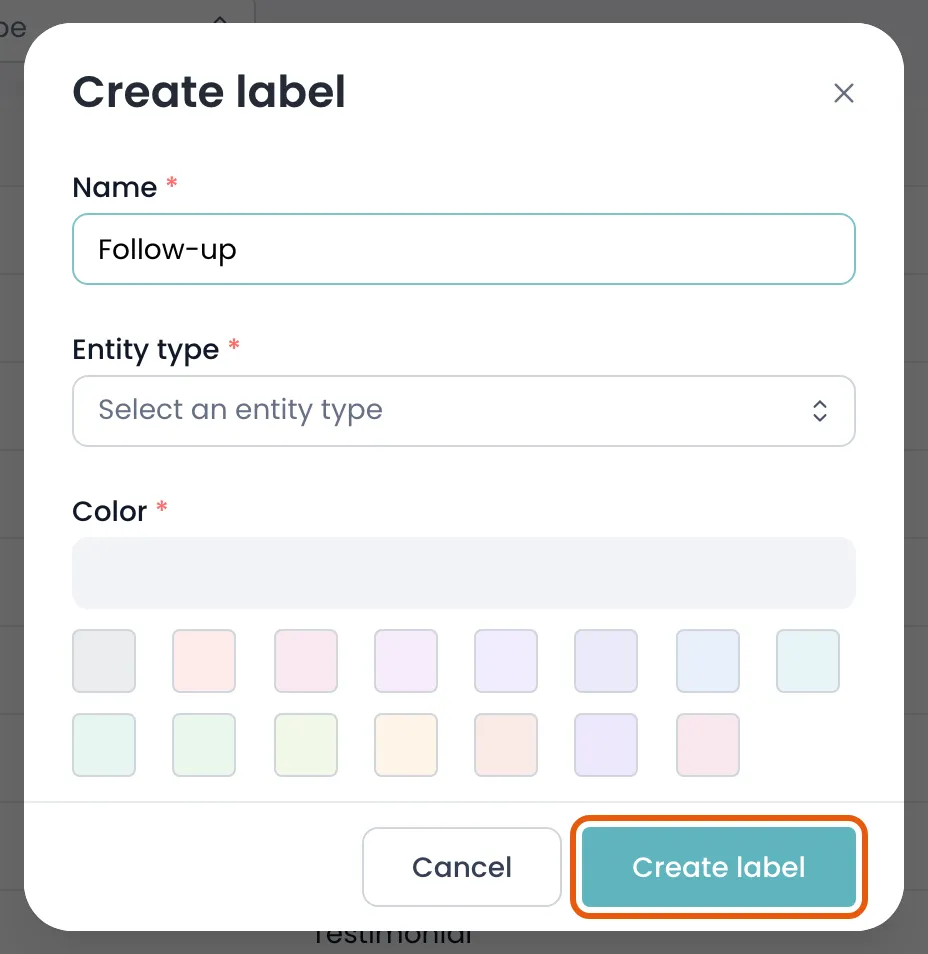
- Click Create label to save it.
Field reference
Section titled “Field reference”| Field | Type | Required | Description |
|---|---|---|---|
| Name | Text | Yes | What the label says. Keep it short — labels appear inline in tables. |
| Entity type | Choice | Yes | Which kind of record the label can be applied to. A label belongs to exactly one type. |
| Color | Text | Yes | The label’s colour. Choose distinguishable colours; colour is how people scan a list. |