Add a contact
Before you start
Section titled “Before you start”Read about contacts for what this is, how it connects to the rest of KLERQ, and the conventions worth following.
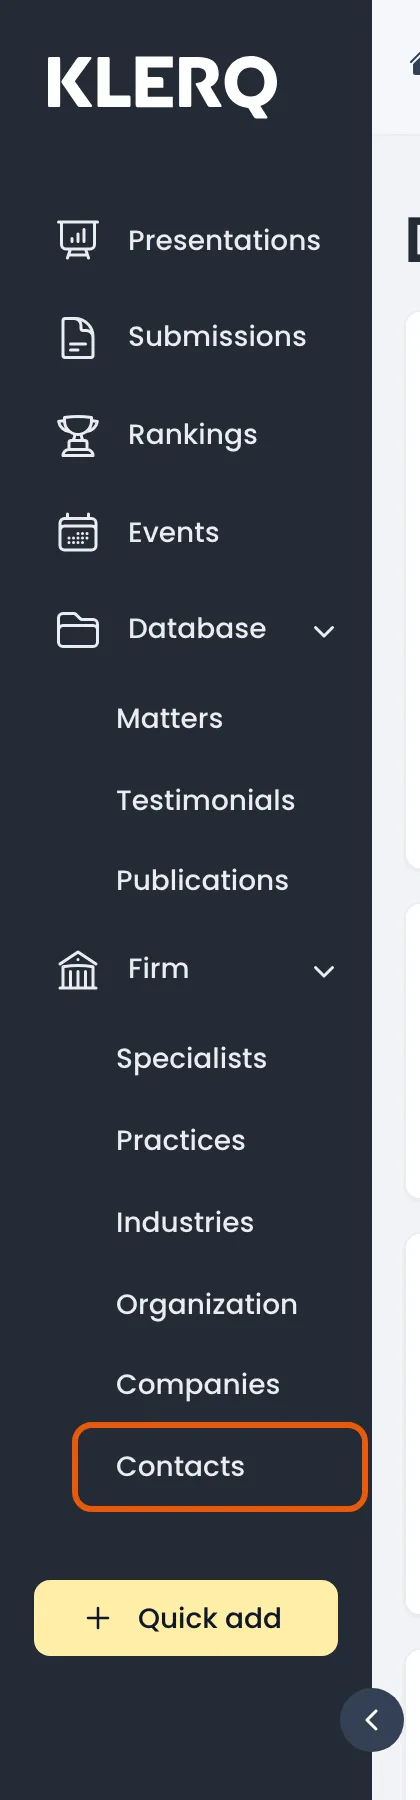
- In the left menu bar, click Contacts under the Firm heading.
- Click Add contact in the top-right corner of the Contacts page.

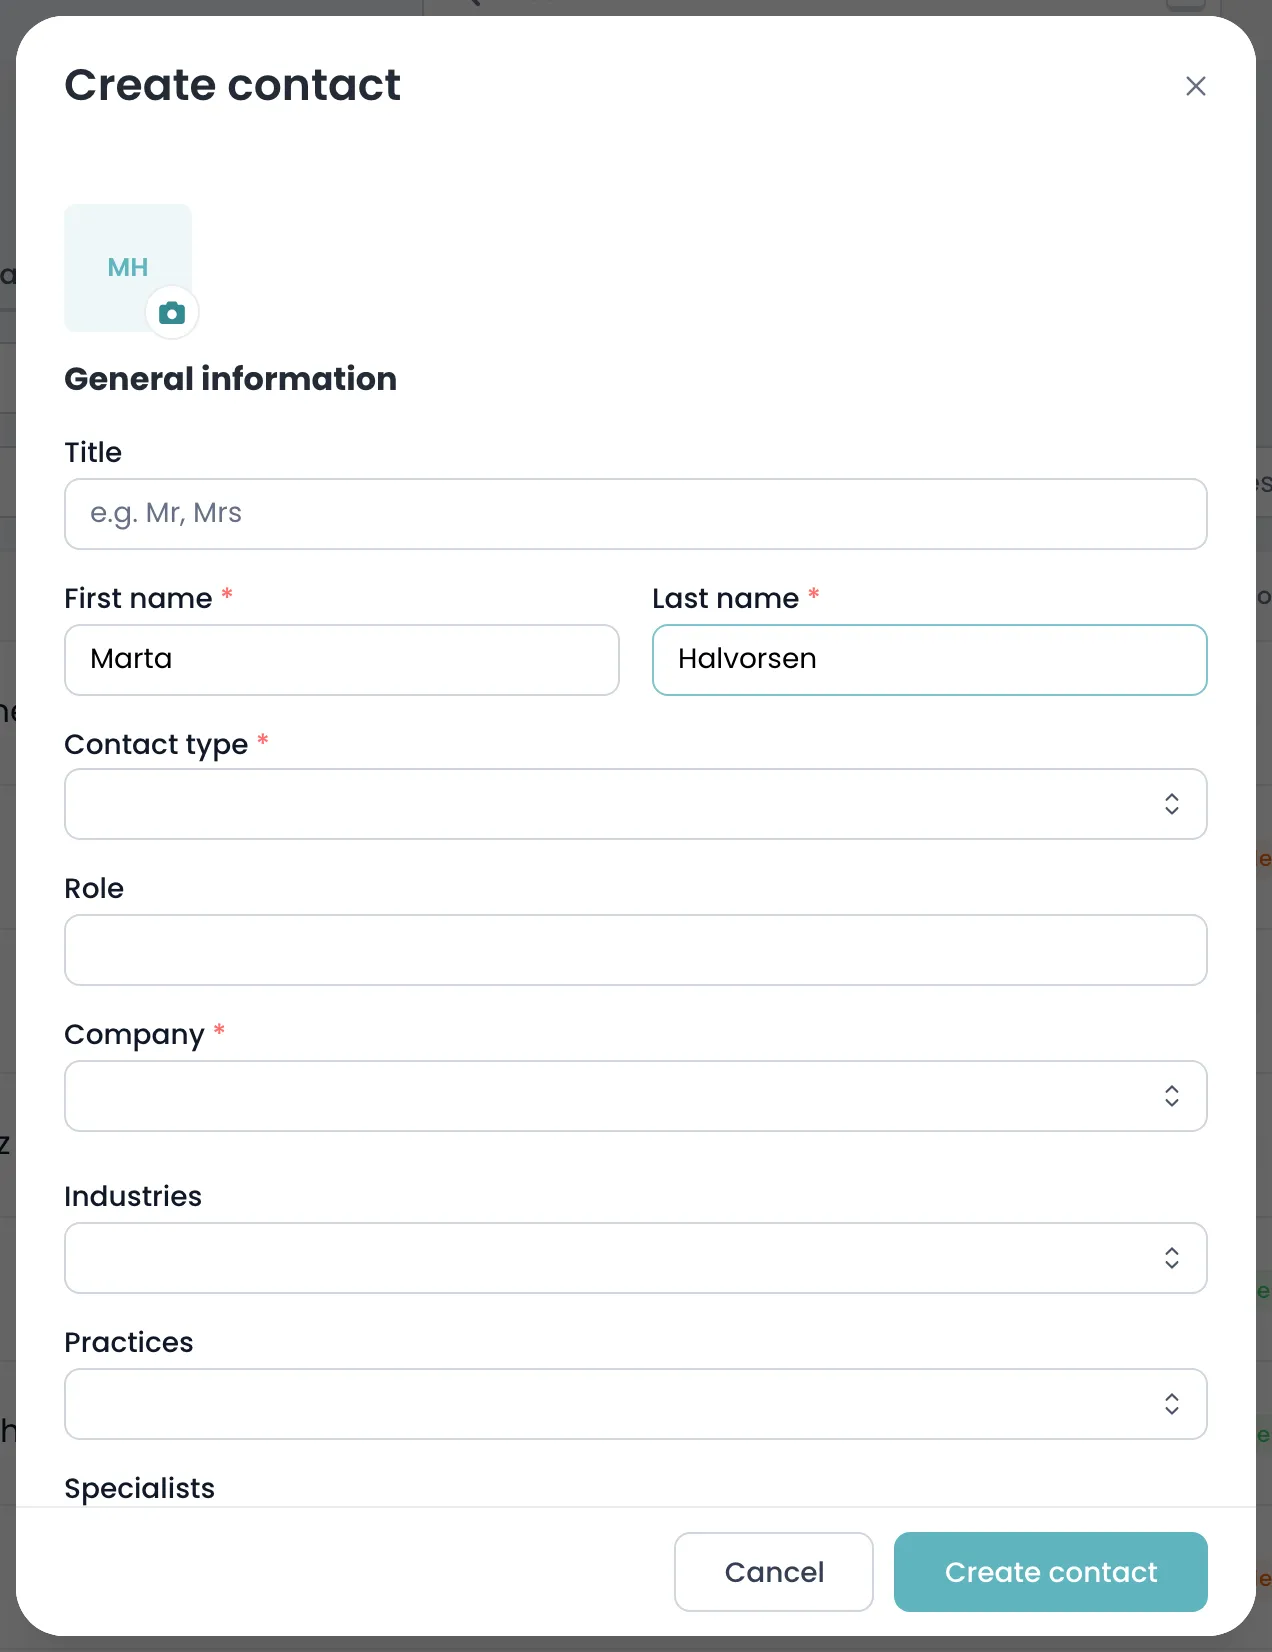
- Enter the contact’s First name and Last name, choose a Contact type, and select the Company they work for.
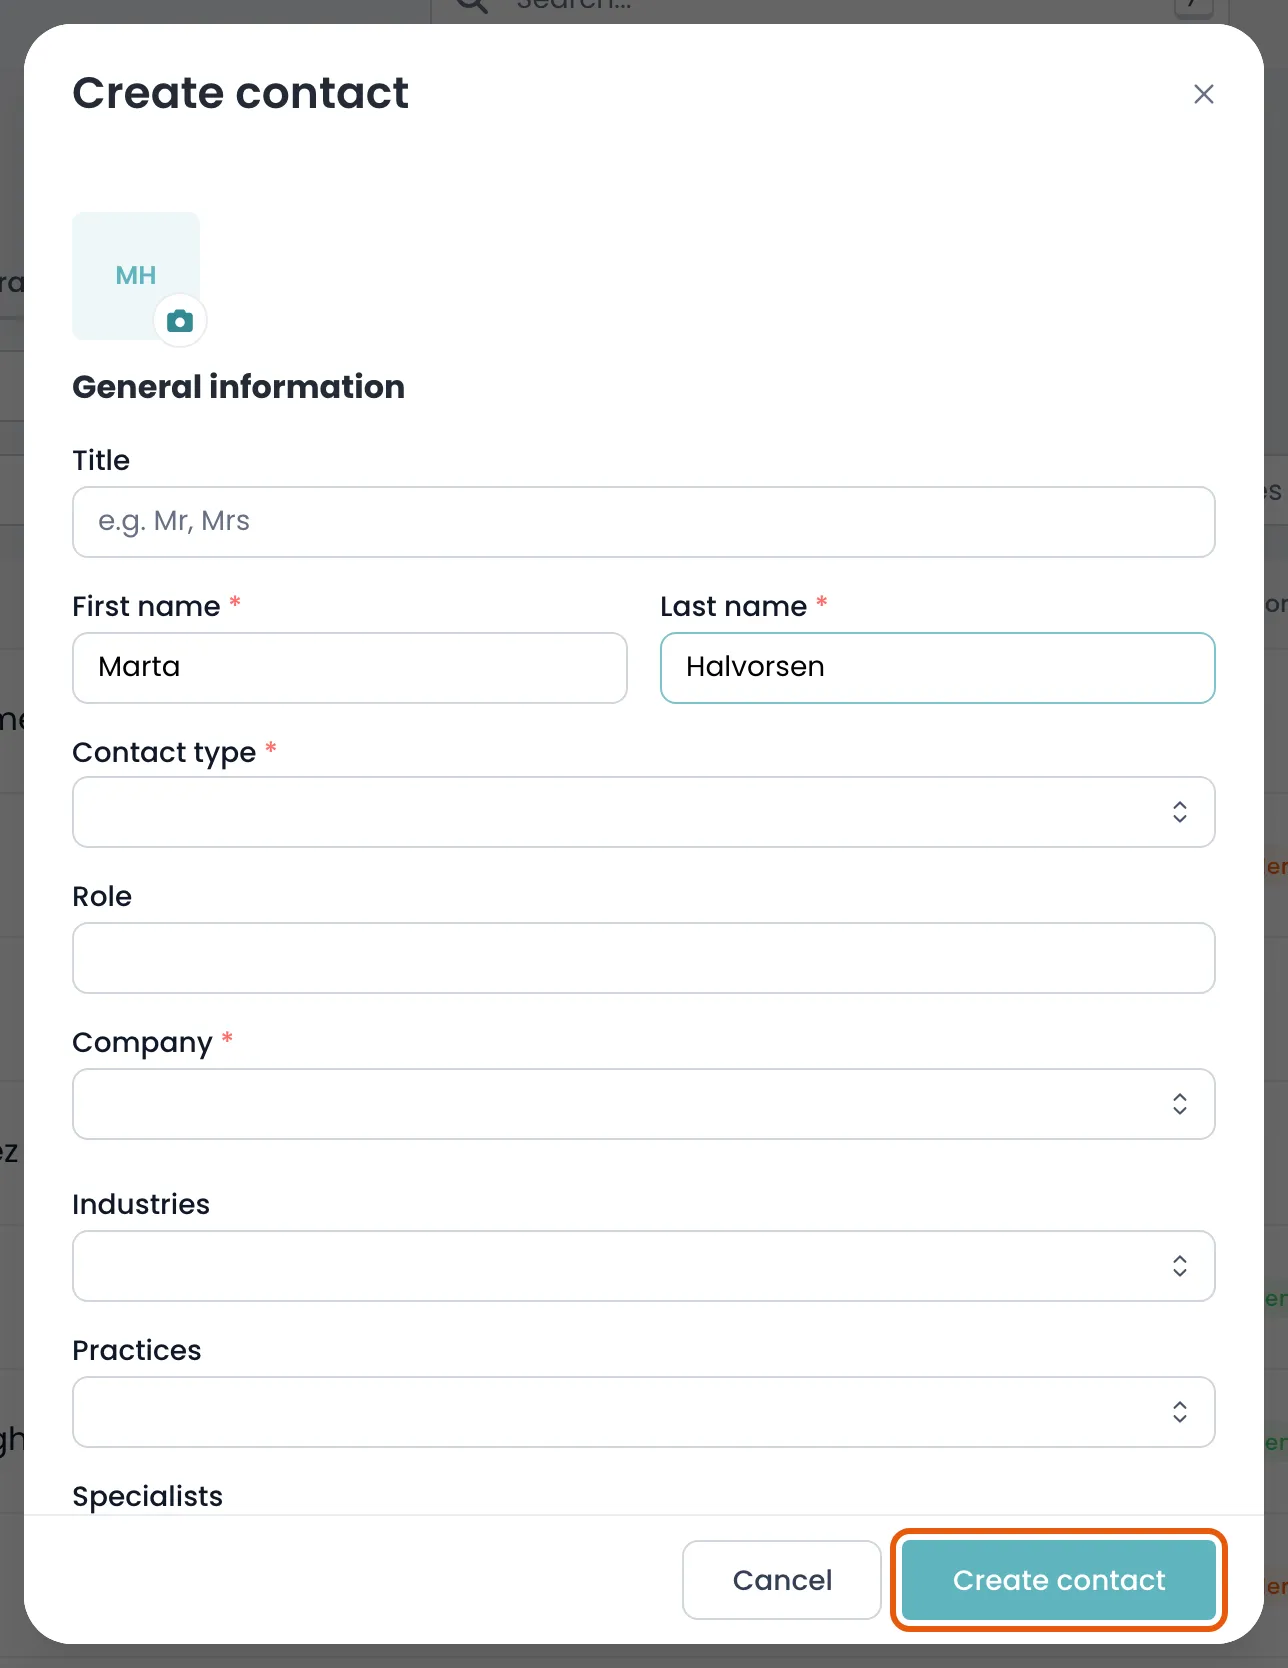
- Click Create contact to save.
Field reference
Section titled “Field reference”| Field | Type | Required | Description |
|---|---|---|---|
| Title | Text | No | Salutation, such as Mr or Ms. Optional but used on formal correspondence. |
| First name | Text | Yes | The contact’s first name. |
| Last name | Text | Yes | The contact’s surname. |
| Text | Yes | Their email address. This is what directories use to reach a referee, so accuracy matters more here than anywhere else on the record. | |
| Company | Text | Yes | The company this person works for. A contact must belong to one. |
| Role | Text | No | Their job title at the company, as it should appear on a submission. Directories weigh seniority. |
| Contact types | List | Yes | What this person is to you — most often a referee for directory submissions. |
| Department | Text | No | Their department within the company. |
| Phone number | Text | No | Direct line. |
| Mobile | Text | No | Mobile number, used when a directory needs to reach a referee quickly. |
| Text | No | Their LinkedIn profile. | |
| Website | Text | No | A personal or professional page, if they have one. |
| Industries | List | No | Sectors this contact can credibly speak to. Used to match referees to submissions. |
| Practices | List | No | Practice areas this contact can credibly speak to. |
| Specialists | List | No | Colleagues at your firm who know this person. They are the ones who should make the ask before nominating them. |
| Labels | List | No | Your firm’s own tags, such as Do not contact or Prefers email. |
| Address | Group | No | Their business address. |
| Notes | Text | No | Anything worth remembering — how they prefer to be approached, or that they declined last year. |