Invite a user
Before you start
Section titled “Before you start”Read about users for what this is, how it connects to the rest of KLERQ, and the conventions worth following.
- Click the gear icon in the top bar to open Settings.

- On the Settings page, choose Users.
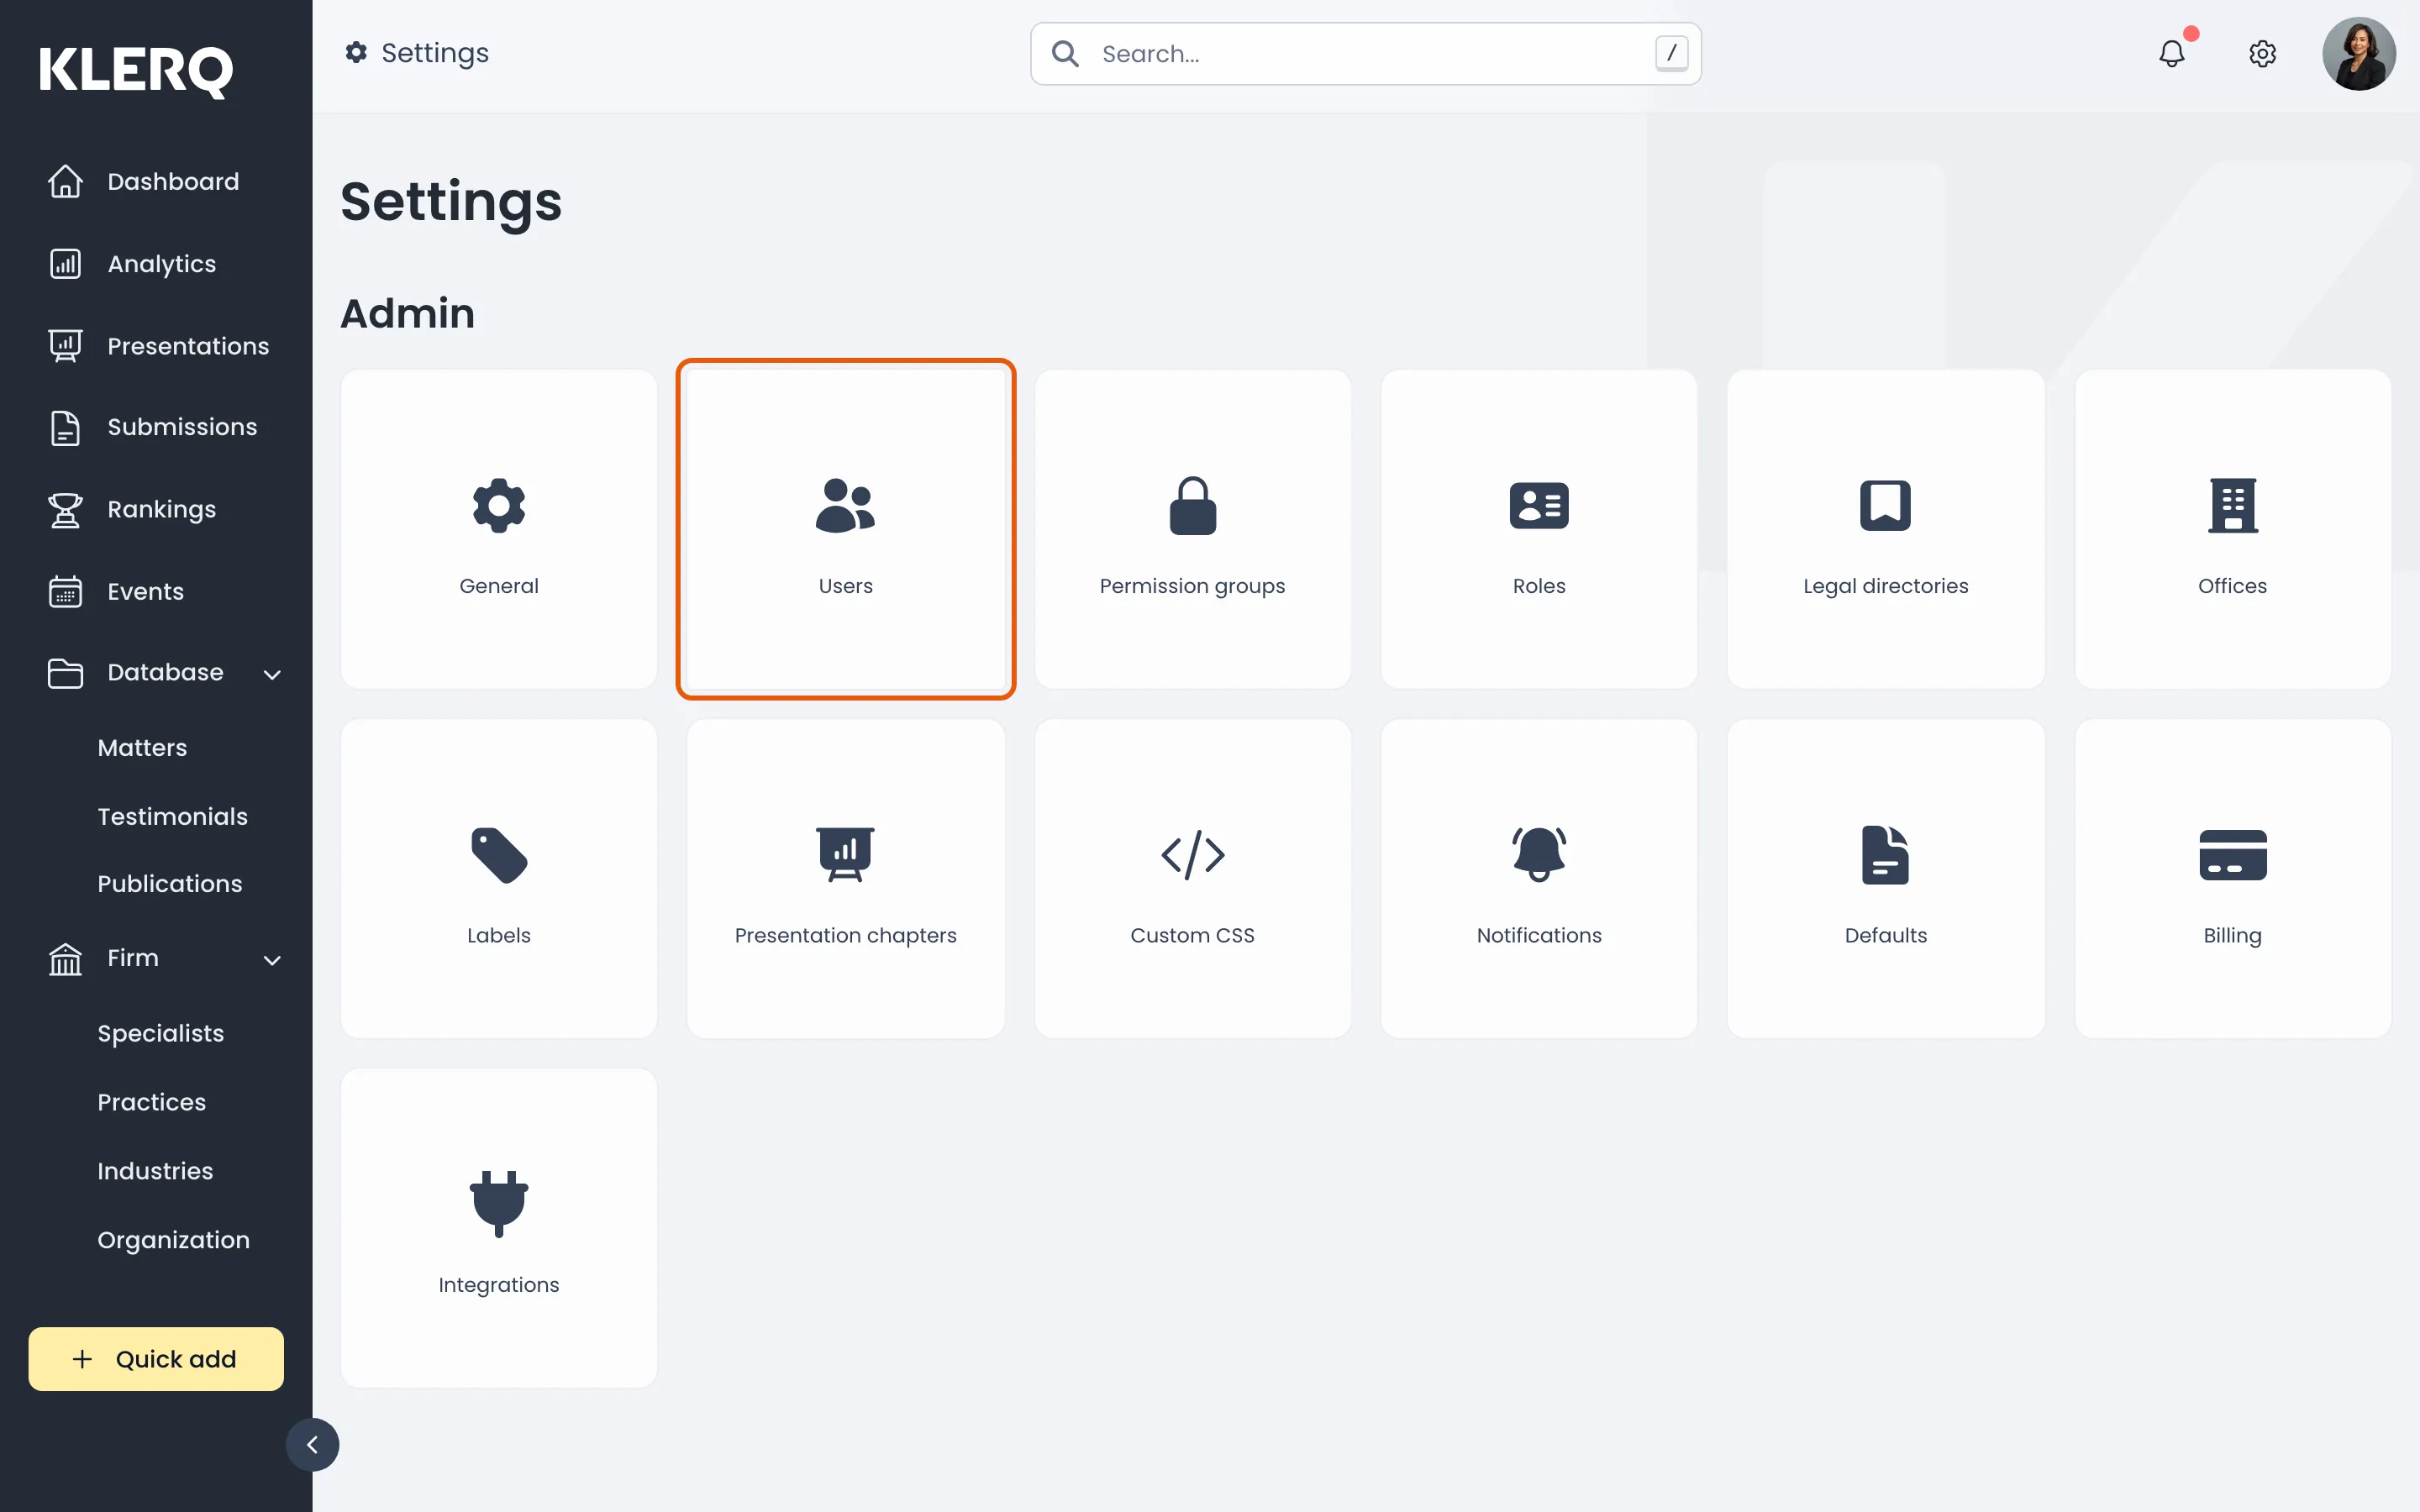
- Click Invite user in the top-right corner of the Users page.

- Enter their First name, Last name and Email, then assign the Permission groups that decide what they can do.
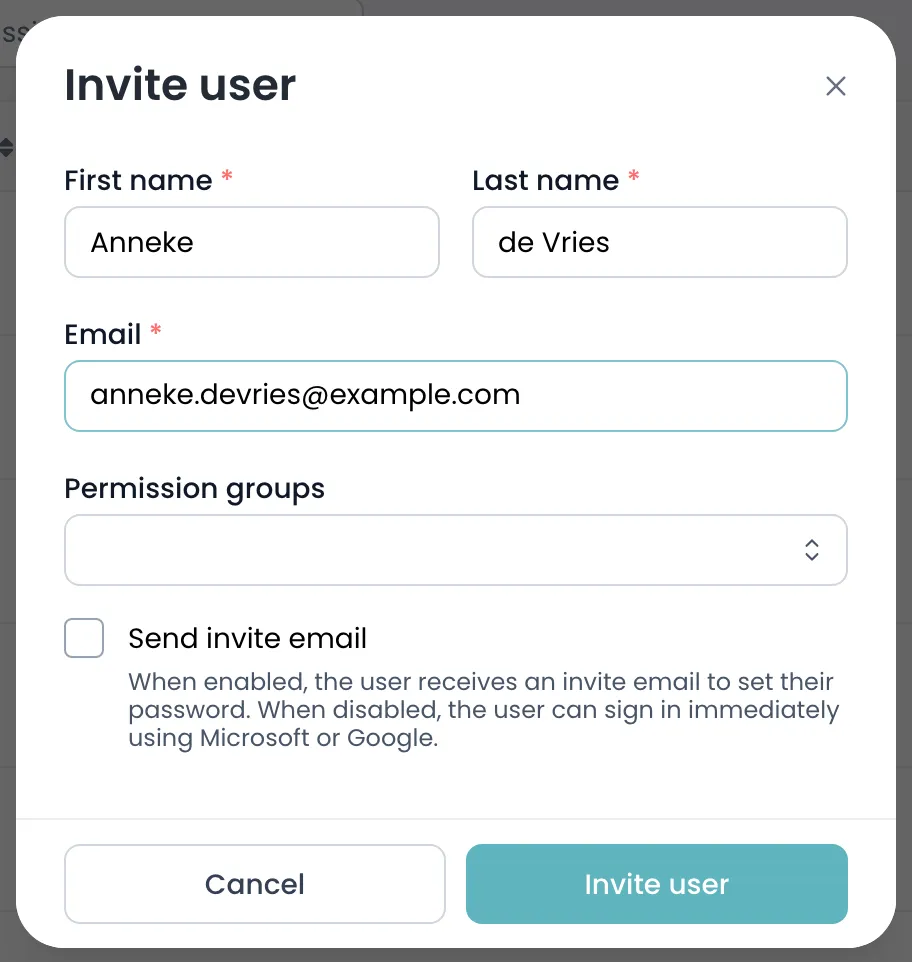
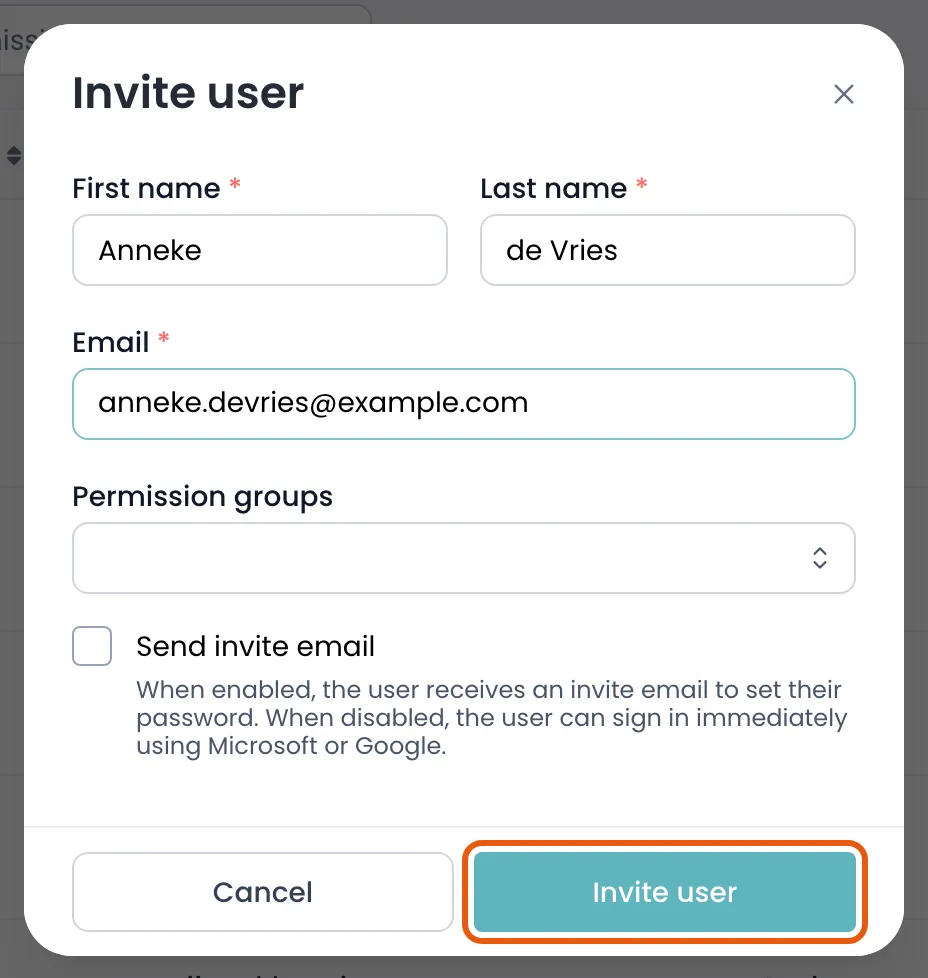
- Click Invite user to send the invitation.
Field reference
Section titled “Field reference”| Field | Type | Required | Description |
|---|---|---|---|
| Prefix | Text | No | Salutation, such as Mr or Ms. |
| First name | Text | Yes | The colleague’s first name. |
| Last name | Text | Yes | Their surname. |
| Text | Yes | Their work email address. This is what they sign in with, so it must match their organisation account exactly. | |
| Permission groups | List | No | Which permission groups they belong to. This alone determines what they can see and do. |
| Send invite email | Yes/no | No | Whether to email the invitation now. Leave off when setting up accounts ahead of a rollout. |